
Whether you’re embarking on a DIY home makeover or running a professional painting business, having the right tools for your interior painting projects is crucial.
The proper equipment not only makes the job easier but also ensures a smooth finish and professional-looking results.
In this comprehensive guide, we’ll explore the essential paint tools you need for successful interior painting, from brushes and rollers to ladders and drop cloths.
Essential Brushes and Rollers: The Foundation of Your Painting Arsenal
Brushes and rollers are the workhorses of any painting project. Choosing the right ones can make a significant difference in your painting experience and the final outcome.
Paint Brushes:
- Angled Sash Brush: Perfect for cutting in around windows, doors, and baseboards.
2. Flat Brush: Ideal for large, flat surfaces and exterior work.
3. Foam Brush: Great for smooth finishes on cabinets and furniture.
When selecting brushes, consider the bristle type:
– Natural bristles work best with oil-based paints
– Synthetic bristles are suitable for water-based paints
Paint Rollers:
- Standard Roller Frame: The backbone of most painting projects.
2. Mini Roller: For tight spaces and touch-ups.
3. Textured Roller: Creates decorative finishes on walls and ceilings.
Roller Covers:
– Smooth nap (1/4 inch): For smooth surfaces like new drywall.
– Medium nap (3/8 to 1/2 inch): For semi-smooth surfaces like lightly textured walls.
– Thick nap (3/4 inch or more): For rough surfaces or exterior work.
Pro Tip: Invest in high-quality brushes and rollers. They hold more paint, provide better coverage, and last longer, saving you time and money in the long run.
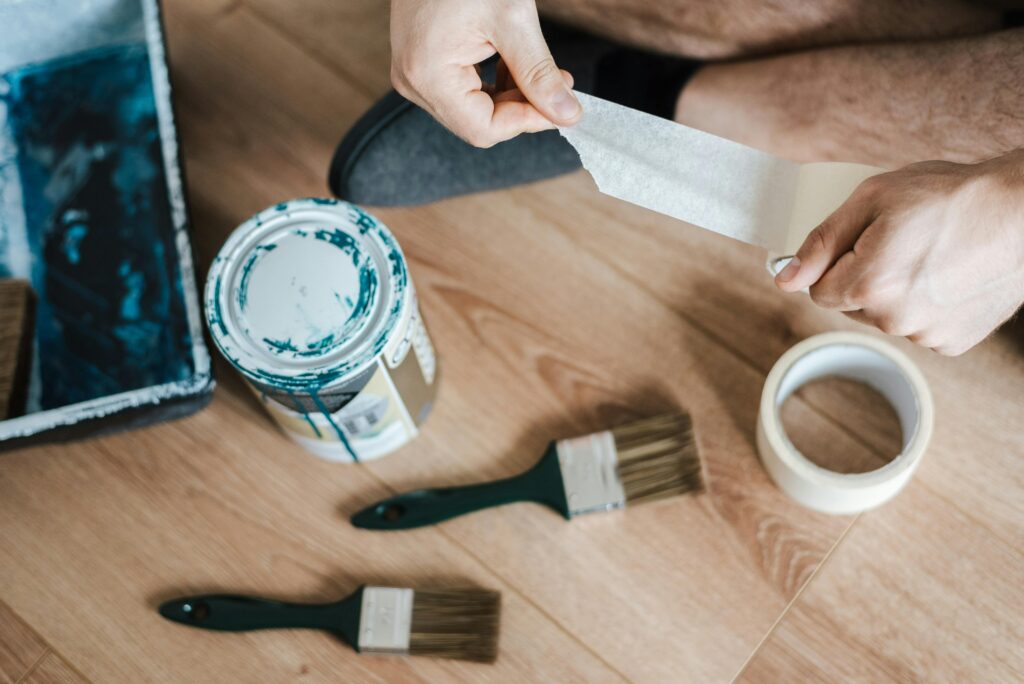
Painter’s Tape: The Secret to Crisp Edges
Painter’s tape is essential for creating straight lines and protecting surfaces you don’t want to paint. Here’s what to consider:
- Blue Painter’s Tape: The most common type, suitable for most interior painting projects.
2. Green Frog Tape: Offers superior paint bleed protection for ultra-sharp lines.
3. Yellow Delicate Surface Tape: Ideal for freshly painted surfaces or wallpaper.
When applying painter’s tape:
– Clean the surface thoroughly before application.
– Press down firmly to ensure a good seal.
– Remove the tape at a 45-degree angle while the paint is still slightly wet for the cleanest lines.
Drop Cloths and Tarps: Protecting Your Space
Protecting your floors and furniture from paint spills and drips is crucial. Here are your options:
- Canvas Drop Cloths: Durable, reusable, and less slippery than plastic.
2. Plastic Sheeting: Inexpensive and easy to dispose of, but can be slippery.
3. Paper Drop Cloths: Good for smaller jobs or lining other drop cloths for added protection.
Pro Tip: Use canvas drop cloths for floor protection and plastic sheeting for covering furniture and fixtures.
Ladders and Extension Poles: Reaching New Heights
For painting ceilings and walls in high places, you’ll need:
- Step Ladder: For most interior work.
2. Multi-Position Ladder: Versatile for stairs and uneven surfaces.
3. Extension Pole: Attaches to your roller for reaching high walls and ceilings without a ladder.
Safety Tip: Always follow ladder safety guidelines and consider using a stabilizer for added safety and convenience.
Paint Trays and Grids: Efficient Paint Distribution
Paint trays and grids help you manage your paint effectively:
- Standard Paint Tray: For rollers up to 9 inches.
2. Deep-Well Paint Tray: Holds more paint for larger projects.
3. Paint Grid: Fits inside a 5-gallon bucket for easy roller loading.
Pro Tip: Use disposable tray liners for easy cleanup, or invest in a durable plastic tray that’s easy to clean and reuse.
Additional Must-Have Painting Tools
To complete your painting toolkit, consider these additional items:
- Putty Knife and Scraper: For preparing surfaces and removing old paint.
2. Caulk Gun: For filling gaps and cracks before painting.
3. Sanding Block or Sandpaper: For smoothing surfaces and between coats.
4. Paint Can Opener: A simple tool that makes opening paint cans much easier.
5. Handy Paint Pail: A portable alternative to traditional paint trays.
6. Magnetic Brush Holder: Keeps your brush clean and accessible while you work.
7. Paint Sprayer: For large areas or achieving a super-smooth finish on cabinets and furniture.
8. Paint Edger Tool: Helps create clean lines along ceilings and baseboards.
9. Wall Cleaner: Ensures surfaces are clean before painting for better adhesion.
Choosing the Right Paint
While not a tool per se, selecting the right paint is crucial for your project’s success:
- Consider the room’s purpose and lighting when choosing colors.
2. Decide between water-based (easier cleanup) and oil-based (more durable) paints.
3. Choose the right sheen: flat for low-traffic areas, semi-gloss or gloss for high-traffic or moisture-prone areas.
Pro Tip: Always buy more paint than you think you’ll need. It’s better to have extra than to run out mid-project.
Preparing Your Space
Before you start painting, proper preparation is key:
- Remove or cover all furniture and fixtures.
2. Clean walls thoroughly and repair any nail holes or imperfections.
3. Apply painter’s tape to protect trim, windows, and doors.
4. Lay down drop cloths to protect floors and any remaining furniture.
The Painting Process
With your tools assembled and space prepared, you’re ready to paint:
- Start with cutting in around the edges and trim using an angled brush.
2. Use a roller for large wall areas, working in a W pattern for even coverage.
3. Apply at least two coats, allowing proper drying time between each.
4. Remove the painter’s tape carefully once the paint is dry to the touch but before it fully cures.
Clean-Up and Storage
Proper clean-up and storage of your paint tools will extend their life:
- Clean brushes and rollers thoroughly with appropriate solvents.
2. Allow tools to dry completely before storage.
3. Store brushes hanging or lying flat to maintain their shape.
4. Keep leftover paint in a cool, dry place, and label cans with the room and date used.
Conclusion
Equipping yourself with the best paint tools for your interior painting projects can significantly improve your painting experience and results.
From essential brushes and rollers to protective gear and specialized tools, each item plays a crucial role in achieving a professional-looking finish.
Remember, investing in quality tools and taking the time to prepare properly will pay off in the long run, whether you’re a DIY enthusiast or a professional painter.
By following this guide and using the right tools, you’ll be well-prepared to tackle any interior painting project with confidence. Happy painting!
let us take care of it for you. Contact us today for a free consultation and learn how we can help preserve and enhance your home’s paint beauty.